Choose your goose
Ribbon Gaggle has a pink ribbon, Mint Balloon Goose uses soft green, and Blue Rainboot Goose brings a blue accent. Pick the paper before choosing gingham or cake colors.
From the QDP paper cupboard
Choose your own little goose story
These are separate 5 × 7 inch Canva invitation designs. Check the individual listing’s wording and editable fields before purchasing for your occasion.
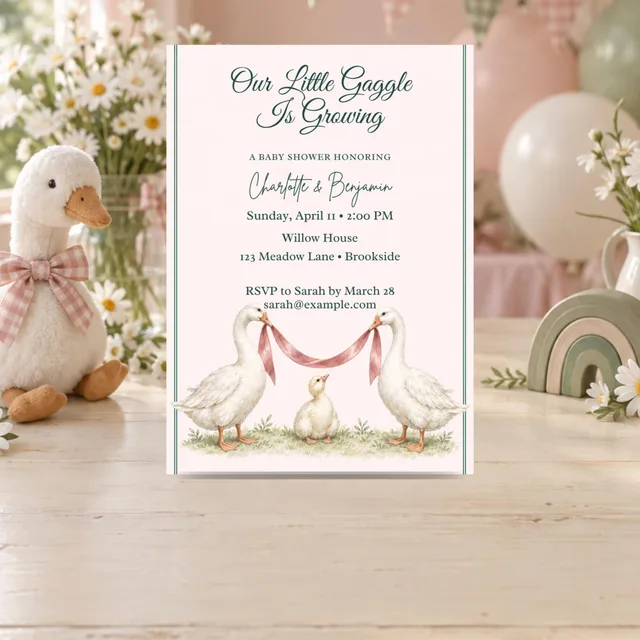
Ribbon Gaggle invitation
5 × 7 in invitation
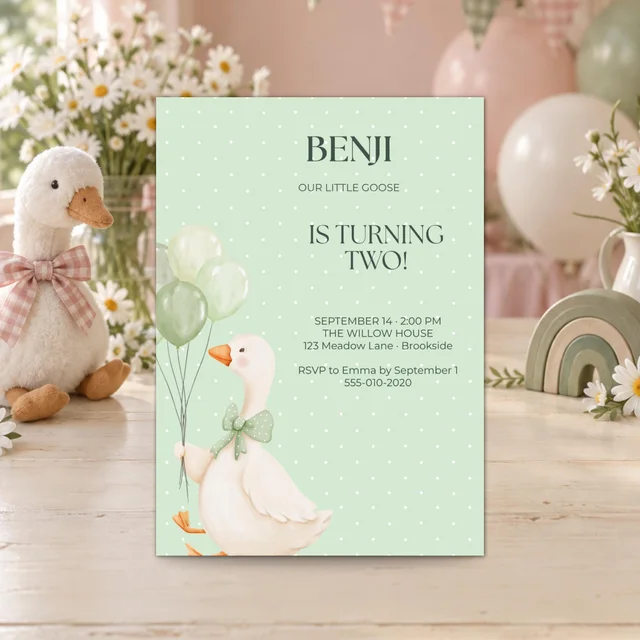
Mint Balloon Goose invitation
5 × 7 in invitation
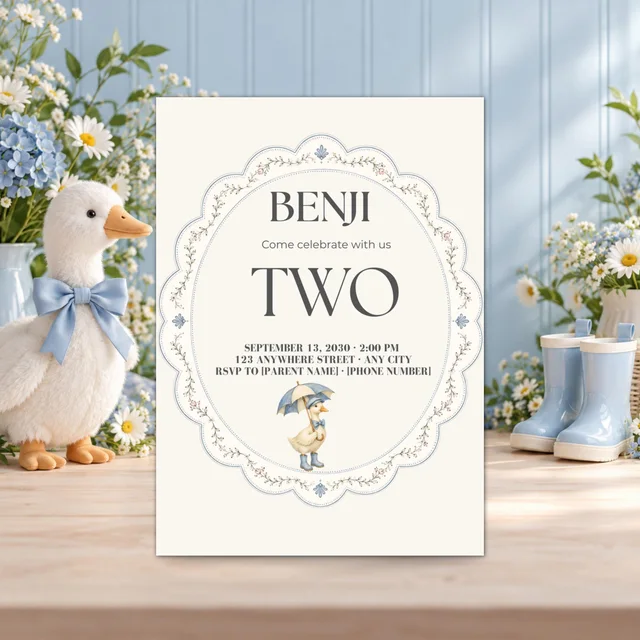
Blue Rainboot Goose invitation
5 × 7 in invitation
The party, at a glance
A plan to make your own.
- The mood
- A little mischief, with soft color and cheerful paper.
- Start with
- Your exact invitation; the goose designs have different palettes.
- The useful detail
- A serving spot planned before the decoration goes up.
Choose which goose is coming to the party
QDP’s goose invitations tell different stories. Ribbon Gaggle is a baby shower design with pink ribbon and botanical details. Mint Balloon Goose has a soft mint birthday mood. Blue Rainboot Goose has a blue umbrella and little boots. The two birthday designs are presented for second birthdays.
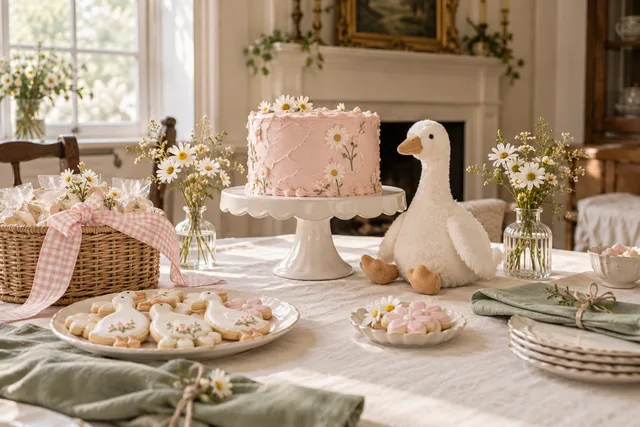
Save the exact invitation you like and use its artwork as your reference while shopping. For Ribbon Gaggle, try a cream cloth with sage napkins and a pink gingham accent. For the blue rainboot design, bring in blue and ivory instead. Combining all three palettes can make it harder to see the character you fell for.
Give the desserts three different jobs
Begin with the main cake, then decide what makes serving easier. A small hand-held sweet can give guests something to choose while the cake is being sliced; a familiar alternative can suit people who prefer something simpler. These are menu roles, not a rule that you must serve three desserts.
For example, a cake with plain frosting, a tray of bakery cookies, and prepared fruit could make a cheerful spread. Scale your order to the guest count and the rest of the menu, and ask about dietary requirements while planning. Keep the names on food labels recognizable, even if the heading above the table is wonderfully silly.
Rehearse the table with empty plates
Place the cake stand first, slightly behind the serving edge. Put lower platters beside it so guests can see the choices. Keep the tallest decorative piece toward the back, and test that nobody has to reach over it to take a sweet. Stable serving pieces are more useful than an impressive tower.
Put a plate on the table and pretend to serve a slice. Where will the knife rest? Can another person pick up a napkin while you are cutting? If the table is small, use a separate kitchen surface for slicing and bring plates back out. A photograph shows the arrangement; this little rehearsal shows how it will work.
Use gingham where people will notice it
Try the pattern in one visible place: a narrow runner, napkins, or a ribbon around a favor basket. A plain cloth underneath gives the checked detail room to show. Tie a second small piece of the same ribbon on a vase if you want to connect the ends of the table.
A few daisies in a stable vessel bring the mood of a small garden indoors. Keep flowers separate from food and position them where they will not hide a label. Stand back before adding another decoration. If the goose artwork, the cake, and the gingham are all easy to notice, the table has its story.
Give guests something to smile about
Beside the sitting area, leave paper and a prompt: “What would this goose get up to next?” Guests can draw a little adventure or write a sentence. For a shower, collect the pages for the parents. For a birthday, invite grown-ups and children to contribute in whatever way suits them.
This can be an optional activity rather than a scheduled game. One imagined goose borrowing the birthday cake may be enough to start a conversation. Keep the drawing materials away from the dessert surface, and gather the pages into an envelope at the end. Plain paper works perfectly well.
Plan for the table after the first slice
Set aside a tray for used serving tools, spare napkins, and any supplies needed to refresh the display. Ask someone to take a few photographs before serving begins, then let the table do its job. Moving a vase to make room for more plates is a sensible part of hosting.
If you choose favors, place them near the exit rather than around every dessert platter. Finish the setup the evening before with empty dishes, then add food according to its preparation and storage needs. Your last decorating decision should be a small one, leaving time for the people arriving.
Let the goose be playful and the serving plan be obvious. Guests should be able to enjoy both.
Further reading from the party community
These independent blogs offer other interpretations of the theme. The plan above is original QDP editorial; reference features and photographs belong to their credited creators.